Setting up secure provisioning
Estimated reading time: 1 minute
Some handsets support authenticating using a client certificate offering a more secure way of provisioning.
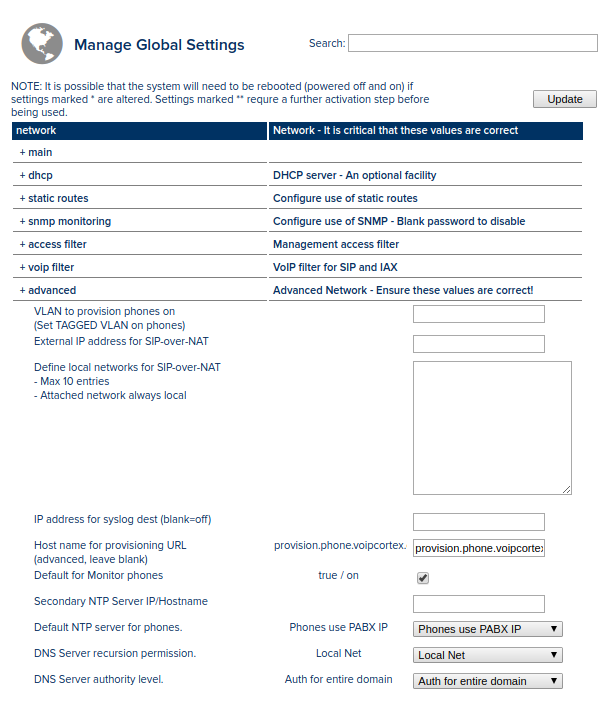
- Go to system > global, open the network > advanced section and set ‘Host name for provisioning URL’.

- Follow the installing a certificate guide. Note: A multi domain certificate is required.
- Add DNS entries for both the unit and provisioning host name’s.
- Where required, add firewall rules to allow provisioning and secure voice. (Provisioning: 443 TCP, Secure SIP: 5061 TCP, Secure RTP: 10000-20000 UDP)
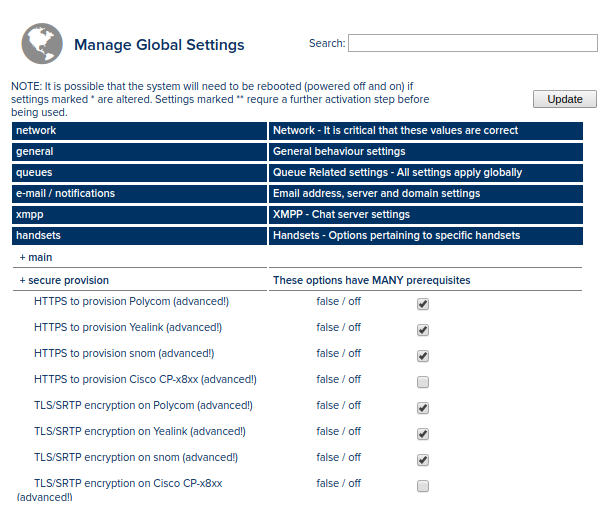
- Go to system > global, open the handsets > secure provision section and check the appropriate options.

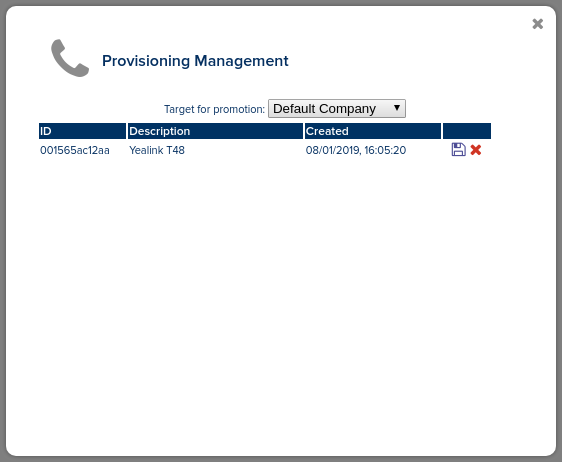
- When a handset attempts to provision for the first time it’ll be placed in a demoted list. Go to system > phones and click on the ‘Promote/Demote device’ to promote the phone.

- When promoting the handset a target company can be specified. Phones can be pre-promoted/authorised by manually adding the handset onto the system with the correct MAC address, make and model.
