Installing the Hyper-V image
Estimated reading time: 3 minutes
If you haven’t already, you can download the Hyper-V image from here: Download the Hyper-V image
Due to the limitation of Hyper-V not supporting OVA’s or OVF’s we’ll need to manually attach the second and third dsik for a standard and pro virtual PBX, as well as setting the database and voicemail/call recording partitions. You’ll only need to install the OS drive we supply via the download link if you have purchased a micro licence. Following the below steps will take you through everything you need to do to set this up.
Installing the image
Add a new virtual image and follow the setup wizard.
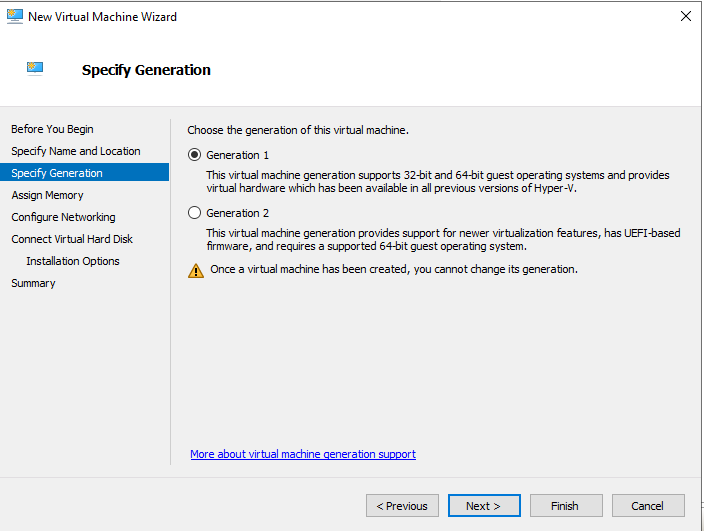
Once you reach specify generation you’ll need to select generation 1 as we are installing a virtual hard disk (.vhd).
- After you have speicified your VM generation we’ll need to assign the memory capacity to the VM. Please follow the minimum and recommended system requirements found on the download page: Download the Virtual Edition PBX

- Attach the virtual hard disk by browsing to it’s directory.
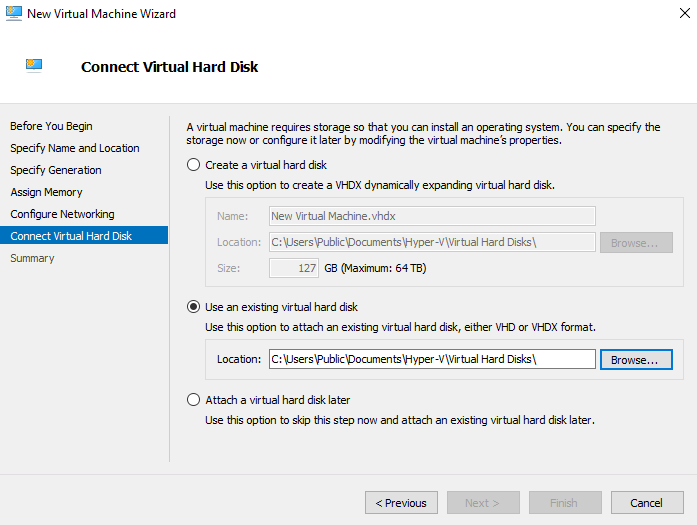
- You can then click finish to finialise the install.
Attaching the drives
- Locate the IDE controller for the PBX virtual image and add the second disk if you are installing a standard or a pro. This drive will be responsible for the database.
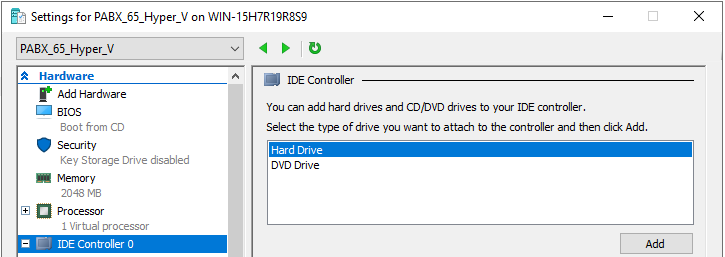
- Once the second disk has been added to IDE controller 0, click it and then click new. This will take you to the virtual hard disk wizard.
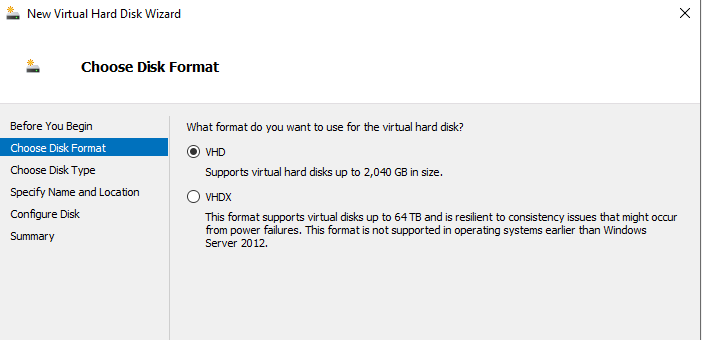
- When given the option to choose disk format, select VHD.
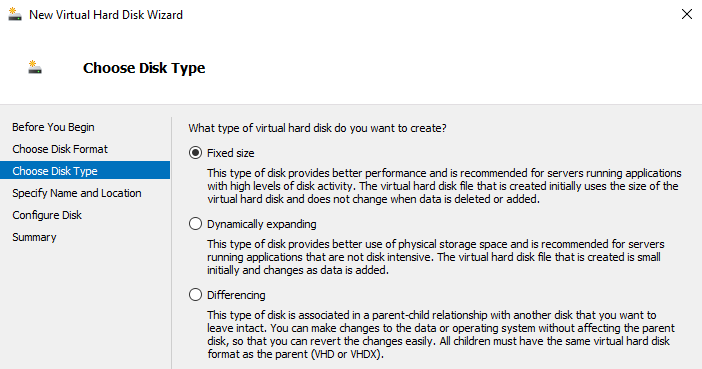
- Afterwards select fixed size for your virtual hard disk.
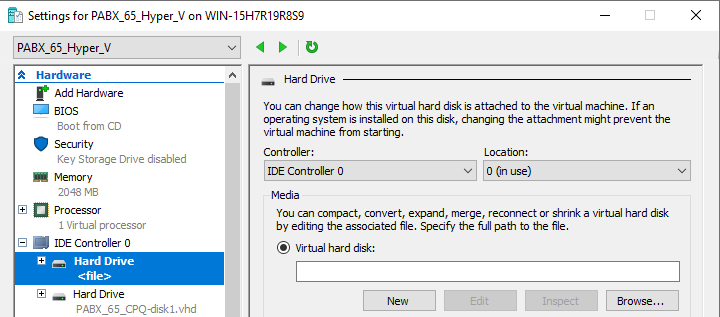
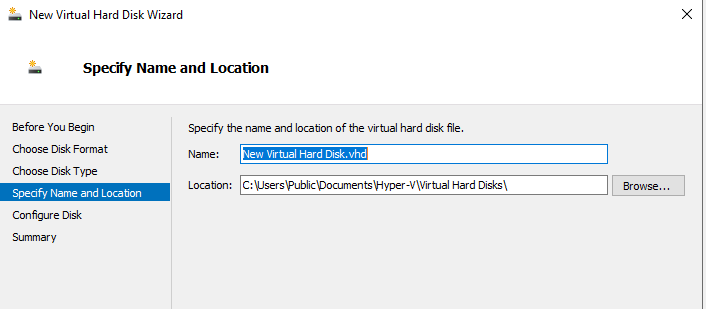
- You can now name the virtual hard disk and choose the directory where it can be located. You’ll need to make sure it’s stored in the same directory as the OS drive.
- You will now need to set the size of the disk. For a standard you’ll need to set the database disk to 10GB and for a pro 20GB.
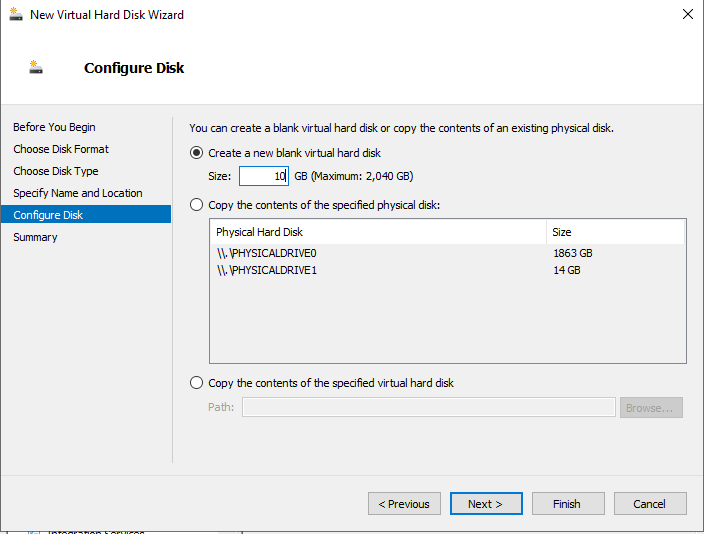
Now click next and then finish to install the new disk.
Once the second disk has been installed you will now need to install the third disk following the above steps. Please note the third disk will need to be added to IDE controller 1. This disk is responsible for voicemail and call recordings. For a standard we would recommend a minimum of 50GB and a pro with a minimum of 480GB. We only need the 50GB disk for a standard due to call recording not being enabled on a standard.
Setting the partitions
Boot the PBX and access the root prompt through the PABX admin dialog interface.
To set the database and recordings/voicemail paritions run
make_hdd_images.pl. There will be a lot of output and the occasional confirmation by pressingy.Afterwards reboot the PBX so the changes made by
make_hdd_images.plcan take a effect.